


Successful and smooth design handoff

Designers and developers perform very different tasks when it comes to creating a product. What might seem completely normal and logical from the designer’s point of view might not necessarily mean the same from the developer’s side. This article will outline the key steps that make the handoff process from design to development smoother. It will also cover some common setbacks and their causes.
Starting with defining the design to development handoff, what it actually is, and how it looks like. Surprisingly, it is not a one-time event, but rather a continuous conversation between the designer and the developer aiming to make our final product perfect. For designers, it means a functioning website or an app that helps the end users perform their desired tasks. For the developer, it means clean code, no bugs, glitches, or anomalies. These conversations and the workflow will determine how smooth the process will be, and if it will yield a beautiful end product.
Key steps for a seamless design handoff
- Designer – Developer communication
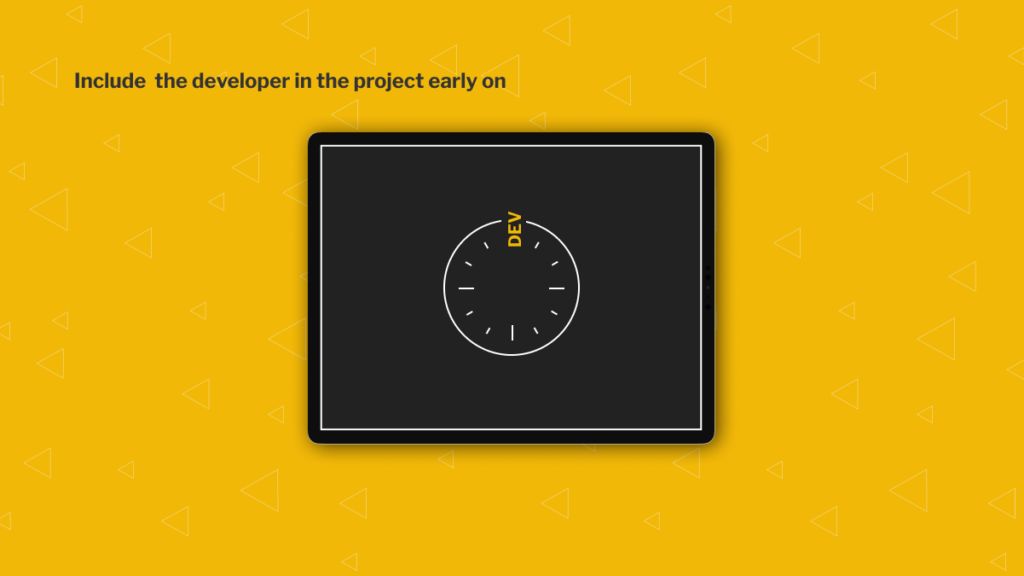
- Have the developer involved in the project early on
- Know your technology limitations
- Style guide the vital segment of the project
- Establish checkpoints
- What about the complex animations and the ones a little less complicated?
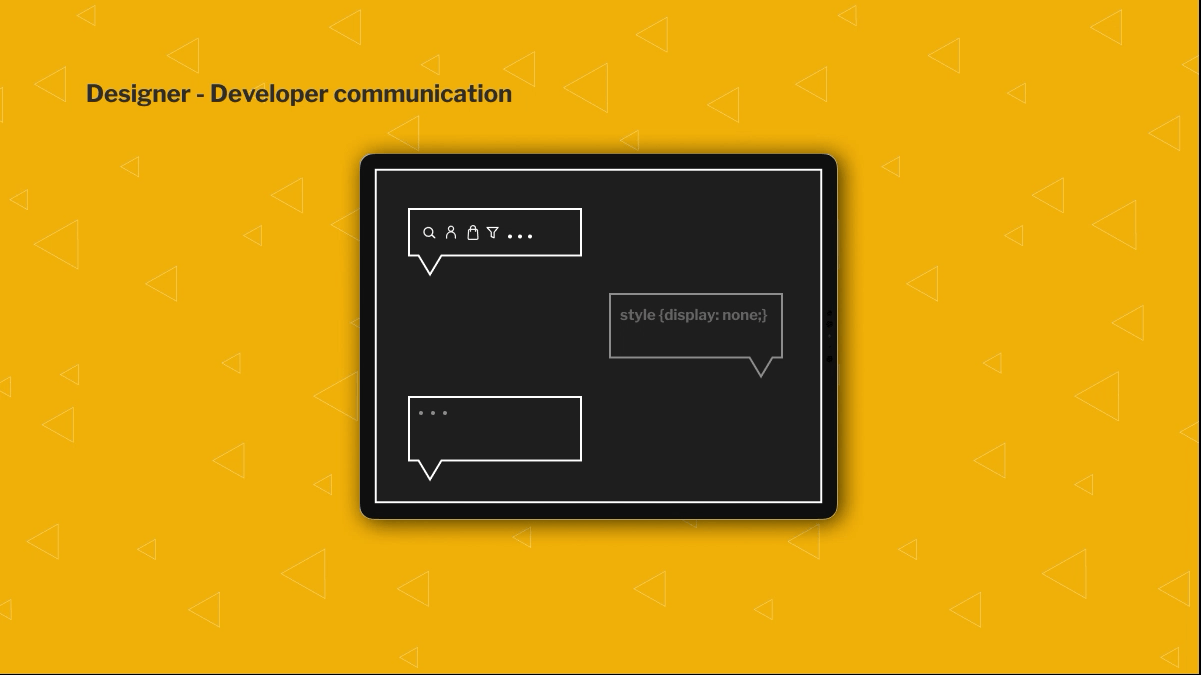
Designer – Developer communication
What determines the success of the project is the communication within the team. It is important for both designers and developers to be involved in the project early on when all the features are being discussed. If the developer is constantly included, the green light will be given easier and faster, and the complete wireframe will be shown to the client faster and with higher quality. When the two work together from the beginning, mistakes are less likely to happen or repeat. Even when the design process is rolling, developers should always take a look at the design templates to make sure everything will be executed within the desired timeframe.
Have the developer involved in the project early on
Fixing little parts and making it work for the designer, the developer, and most importantly the client, makes the entire process smooth and forgiving. Imagine reaching the final stage of the project to suddenly realize some feature is malfunctioning. The nightmare of digging through the files, fixing them, it all makes changes on other templates. It becomes a domino effect. The extra hours that need to be invested at that point are completely unnecessary and add to the cost. When you think of it, all it took was to talk to the developer and share your design with them to keep it problem-free.
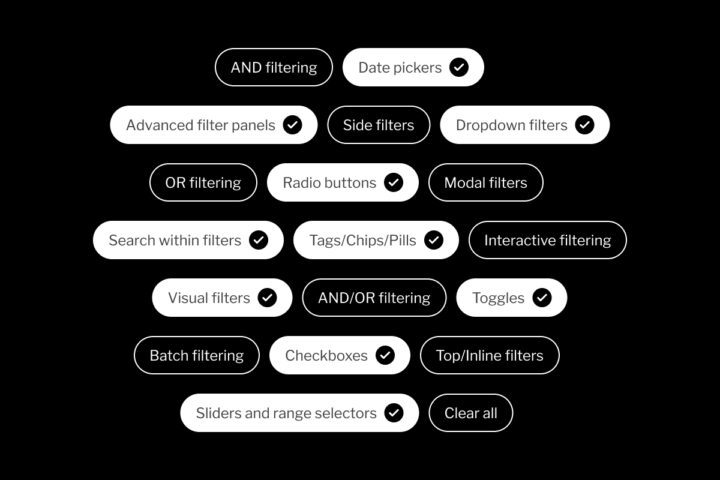
Our teams work together from the beginning, even when the specs are just being defined. Developers and designers know right away how many templates they will have to create as well as all the features. We make decisions together, what plugins will be used, and how we will solve different problems. Once the developer has approved the wireframes, the designers present them to the client. For example, our team is creating an interactive map with many features, such as searching and filtering. Designers brainstorm, research, and collect information and ideas in order to do design sketches. The designers constantly communicate with the developers in order to see what is possible at the moment. Once we come to an agreement on the features, we present it to the client. The rule is to never present something to the client that the developer has never seen before.
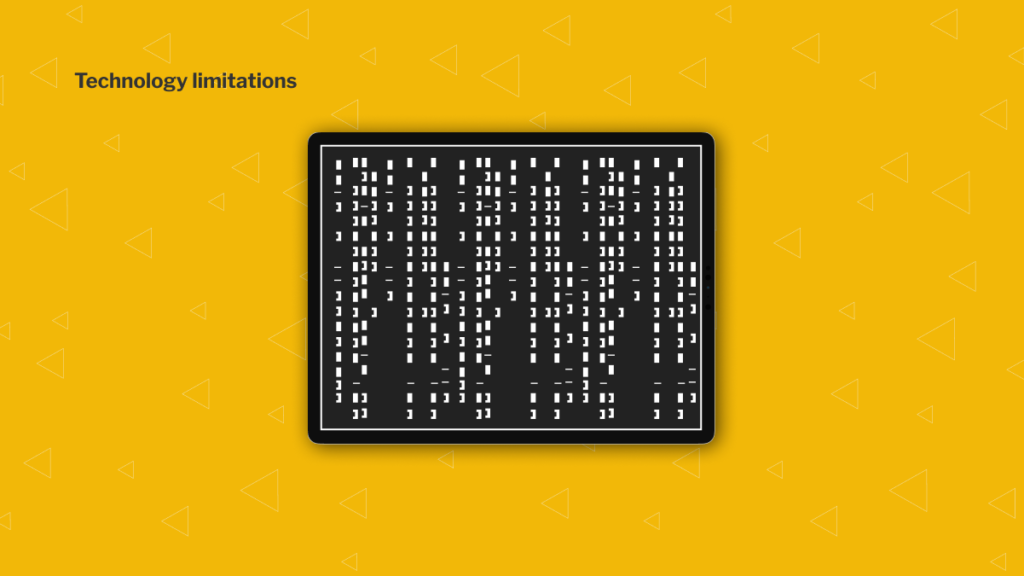
Know your technology limitations
One of the good reasons to have a developer with you from the start is due to the limitations of technology. Whilst this comes with experience, consulting on major features with a code master is a must – no matter how experienced you are. They know all the latest plugins and ways to do it. In most cases even before the designer. Filling in the knowledge gaps makes it easier for both sides, keeps communication clear, and ends with a better overall product – and happier client.
Style guide the vital segment of the project
Developers and designers don’t necessarily speak the same language all the time. That is why files matter. Organize, organize, and organize! The style guide has to be pixel perfect. Make sure you cover all the components, every possible stage, and it will all work out well. Make it easy to read and navigate through, and avoid leaving out any information. The developer will not appreciate guessing as to what their job is, or trying to find missing pieces of the puzzle. There is nothing worse than having to spend valuable time searching for what needs to be done when simple inclusion would have made it a very painless process. Be a good colleague and do your work properly. We all care about how the design turns out, so don’t let things stay in your mind. A style guide is a blueprint for your project so treat it as one. Don’t leave your developer hanging! Stick to the naming conventions you already use across the team. Standardizing names for files and components makes everybody’s lives easier. When a new team member joins in, teach him the patterns and the workflow. Automate the process. In Neuralab we have this rule, any designer or any developer should always be able to understand and navigate through the file of any project. It keeps us all accountable, organized, and in touch.
There can be many different types of forms in one file. To avoid confusion, we stick to internal naming conventions known to all designers and developers at Neuralab. For instance Form/Input Field/Normal. Such components are followed by all its states Hover / Active / Selected / Error / Validations. Everything in the style guide has a dedicated place. Components and instances are grouped together on separate pages under that group title (for example “Forms”) to ease the navigation through the style guide.

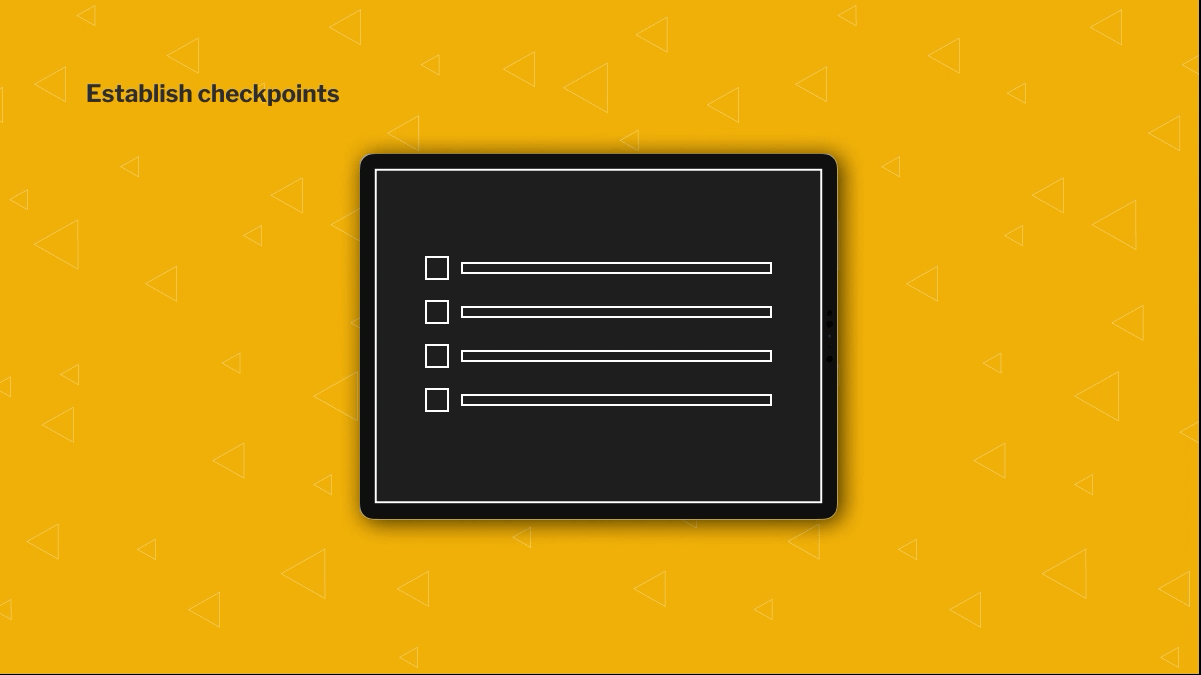
Establish checkpoints
We have all heard this sentence from the developer at least once. “There is a missing design here”. Create a checklist of all the cases and features that need to be designed and then stick to it. Check it before the final handoff, you never know what you might have missed.
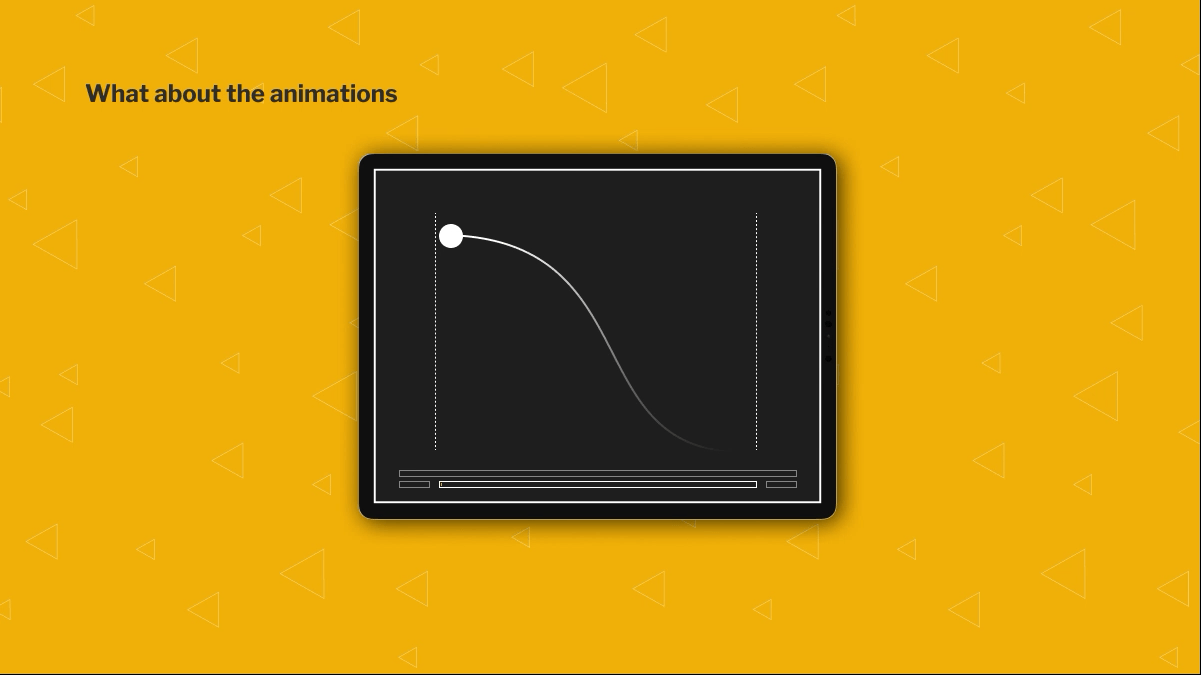
What about the complex animations and the ones a little less complicated?
You probably guessed it by now. Always have an example, make sure it matches the project. Our team strives to give as many examples as possible in order to give the developer a better idea of what needs to be done. Complex animations and micro animations make a huge difference to the final product. They indicate to the user how to do the next step, and make the journey more intuitive as a whole. Specify the transitions, timing, include examples, it all helps to put together the final design.
Let’s recap on the most important tips to remember:
- Keep names clean and short and have consistent naming
- Share the flow with the development team
- Schedule designer/developer audits for every stage of the project
- Automate the process, whether it is by using tools or having good process patterns
- Identifying potential issues in the beginning makes a massive difference later on.
- Prepare high-quality assets
- Talk to the developer, stay in touch.
Conclusion
Design handoff can be an enjoyable process. Embrace the differences between the two teams. Both have much-needed knowledge and strengths. Learn from each other’s process and apply that knowledge to your next project. Ultimately, the final product is made by both teams. It’s even better when they work well together.