


Importing and syncing WooCommerce products – 4 step guide for enterprise merchants

This 4 simple steps guide will explain how to prepare for a WooCommerce product import or sync
Making product content can be one of the most daunting tasks for any eCommerce store owner – your “creations” need to be original, witty, concise, but most of all – truly informative for the end user.
On top of that, Google spiders will constantly sniff around your texts and UX designers will blast at you for writing over the designed content box limits.
Now, most large organizations and enterprise store owners create and manage product information inside their Product Information Management (PIM) system that can be either a standalone application OR included as a module inside a larger IT system – Enterprise Resource Planning (ERP), Customer Relationship Management (CRM) or the ever-present “Excel way of doing things” come to mind.
Ideally, you would want to manage crucial product content in one centralized PIM space, BUT you need to be aware that most eCommerce systems (BigCommerce, ECWid, Magento, Shopify, Wix, WooCommerce…) have larger and more complex options for handling product data. For instance, your existing PIM could have a Name, SKU, Description and Price for every item while at the same time, your eCommerce system would have tons of connected videos, images, downloadables, tags and categorizations, not to mention SEO metadata.
It is possible that you use WooCommerce as a main PIM system, but most enterprise environments use ERP or CRM systems for those practices. Consequently, we will go over the process of importing (or even syncing) your existing product data with WooCommerce store.
Step 1 – talk with your IT team
Speaking with your IT team is always a good first checkpoint and wise practice. They will elaborate on what kind of PIM system you use, what are the connections to other modules of the business system and what are the limitations of current product content handling.
Your first goal is to get a description of the PIM, ERP or CRM system together with screenshots of how the current product table looks.
Forward those IT comments, thoughts and screenshots to your eCommerce team (marketers, designers, developers) that are working on your eComm store project and wait for their feedback. You will probably discuss heavily about categorization, tags and embellishment of the content on the eCommerce side of things.
One side note: as I wrote earlier, eCommerce systems usually utilize more options for handling content than PIM applications. Typical example is a WordPress / WooCommerce Gutenberg block editor where you can basically create all sorts of landing pages, media and forms connected to one product or several of them
Step 2 – obtain an exported product dataset
Second, talk with the IT team on what are the possibilities of exporting products into a machine-readable format. This is just “fancy speak” for a file that you can open in a text editor and that is formatted in a predictable manner. Example file types are CSV, TXT, XML or JSON. These are all pretty standard in any IT system and we will call these files “exported data” from now on.
Obtaining exported data is a crucial step as it will give both the IT crew and your eCommerce team a glimpse into how the product data is structured, what is the quality and cohesion of the data (if the file looks like Swiss cheese) and are there any data duplication problems.
Here are the guides on how to export data from the most popular PIM / ERP systems:
You will almost certainly see problems with your product data as with any live IT systems (average content sets tend to lose quality overtime). This just means that investing in eCommerce is a perfect time to clean up and “ante up” product content efforts.
Step 3 – prepare and transform the exported file
The exported data will probably result in a typical table with columns and rows of product info and there are a couple of checks that you should do:
- If possible, save the exported data into a CSV file. If you’re not successful, speak with your IT team on how they can convert the data into a CSV file
- CSVs should be in UTF-8 format.
- Make sure there are no duplicate entries (you can easily do this inside Google sheets following this article https://blog.coupler.io/how-to-remove-duplicates-in-google-sheets/ )
- Edit obvious grammar and style errors (this could be troublesome if you have thousands of products so speak with your IT or eCommerce Agency on how to solve those problems)
- Define dates for the store’s local timezone.
- If you see boolean values inside your sheet (“true” or “false”), rename those into 1 or 0.
- We propose that you utilize SKUs as product IDs. In case that’s not possible … If referencing an existing product ID, prefix the id with id:. If referencing a SKU, no prefix is needed. e.g. id:100, SKU101
- Custom meta (such as SEO meta) is supported/imported but only as plain text
- Speak with your eCommerce team about product categorization aka taxonomies. Term hierarchy should be denoted with >, while terms should be separated with commas.
- Serialized data is not supported.
Notes on importing images:
- Images need to be pre-uploaded or available online in order to import to your store.
- External URLs inside the CSV file are supported (and imported into the media library if used)
- You can define the filename if the image already exists in the media library.
- If in doubt, take a look at the sample CSV WooCommerce file and how they structure the dataset https://github.com/woocommerce/woocommerce/tree/master/sample-data
Lastly, speak with your eCommerce team and see if you will use NATIVE WooCommerce import function OR some other plugin / system. Note all of their comments and deeply analyze their needs. At this step you will basically have two options – either to proceed with native WooCommerce import OR going with a premium plugin like WP ALL import.
Step 4a – fire-up the native WooCommerce import tool
Pros: no extra steps needed, native solution that is both tried and tested, free (as in comes with a WooCommerce system), no potential compatibility issues, no potential bloated system issues, no downtime
Cons: limited in functionality (only basic CSV file import and field mapping is supported), no pre or post processing functions, no scheduler, no upload from cloud providers, no custom mapping.
Guide:
- Once you’ve cleaned up and formatted your exported data from PIM, it is best that you give this file to your eCommerce team which will actually upload this data into WooCommerce.
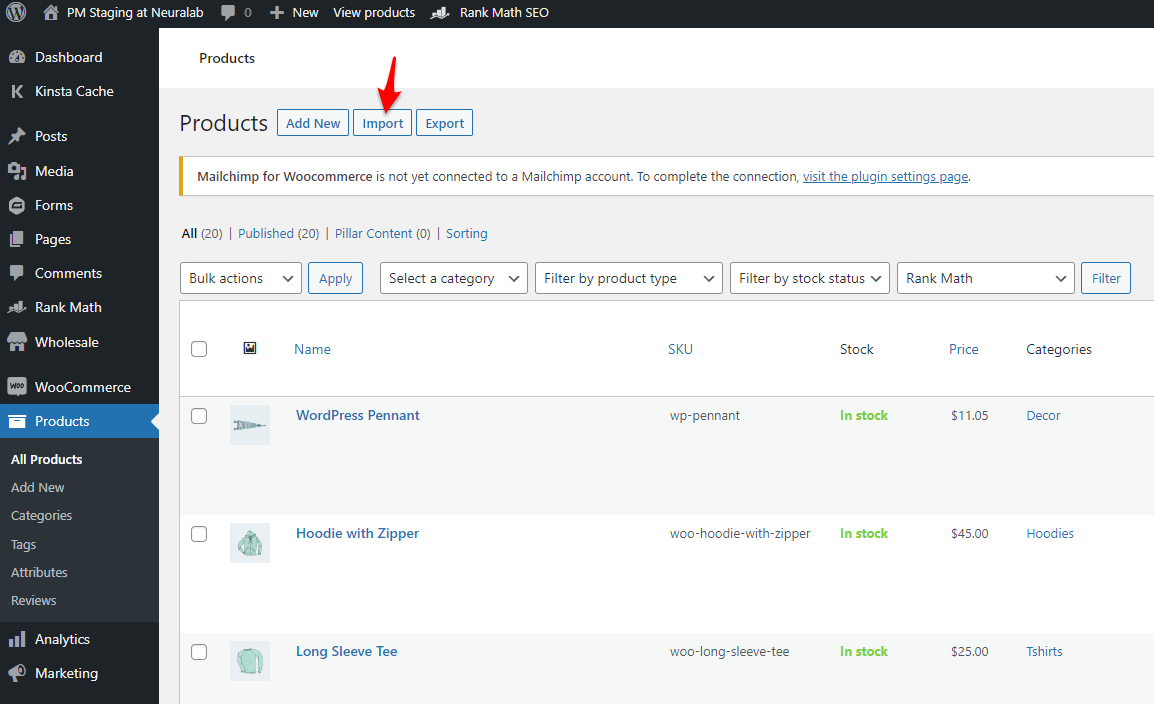
- If you still want to do this alone, you can go to WordPress Admin > WooCommerce > Products and there you will see the “Import” button at the top. Press this button…
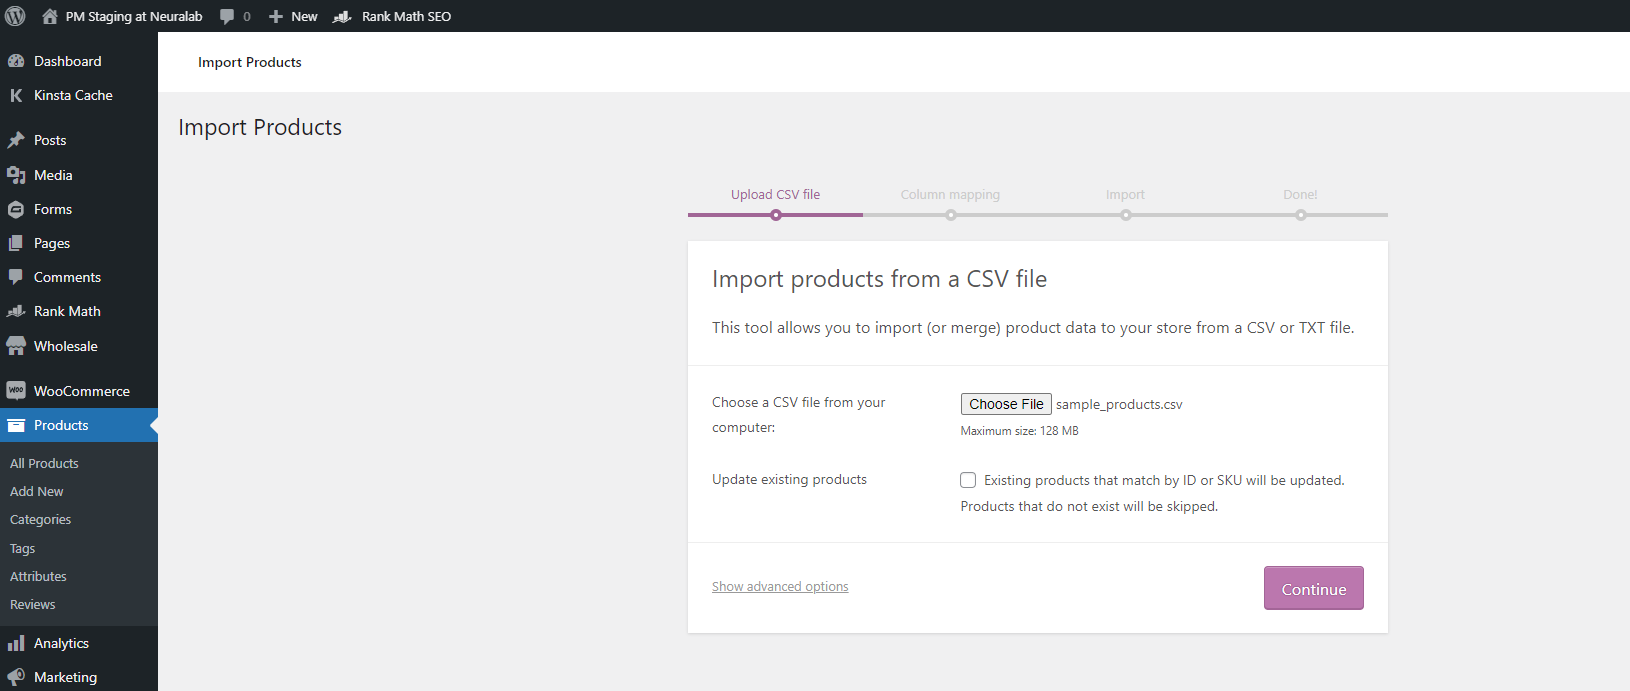
- The UPLOAD CSV file screen will appear and there you will be able to upload your prepared exported data file (.CSV)…
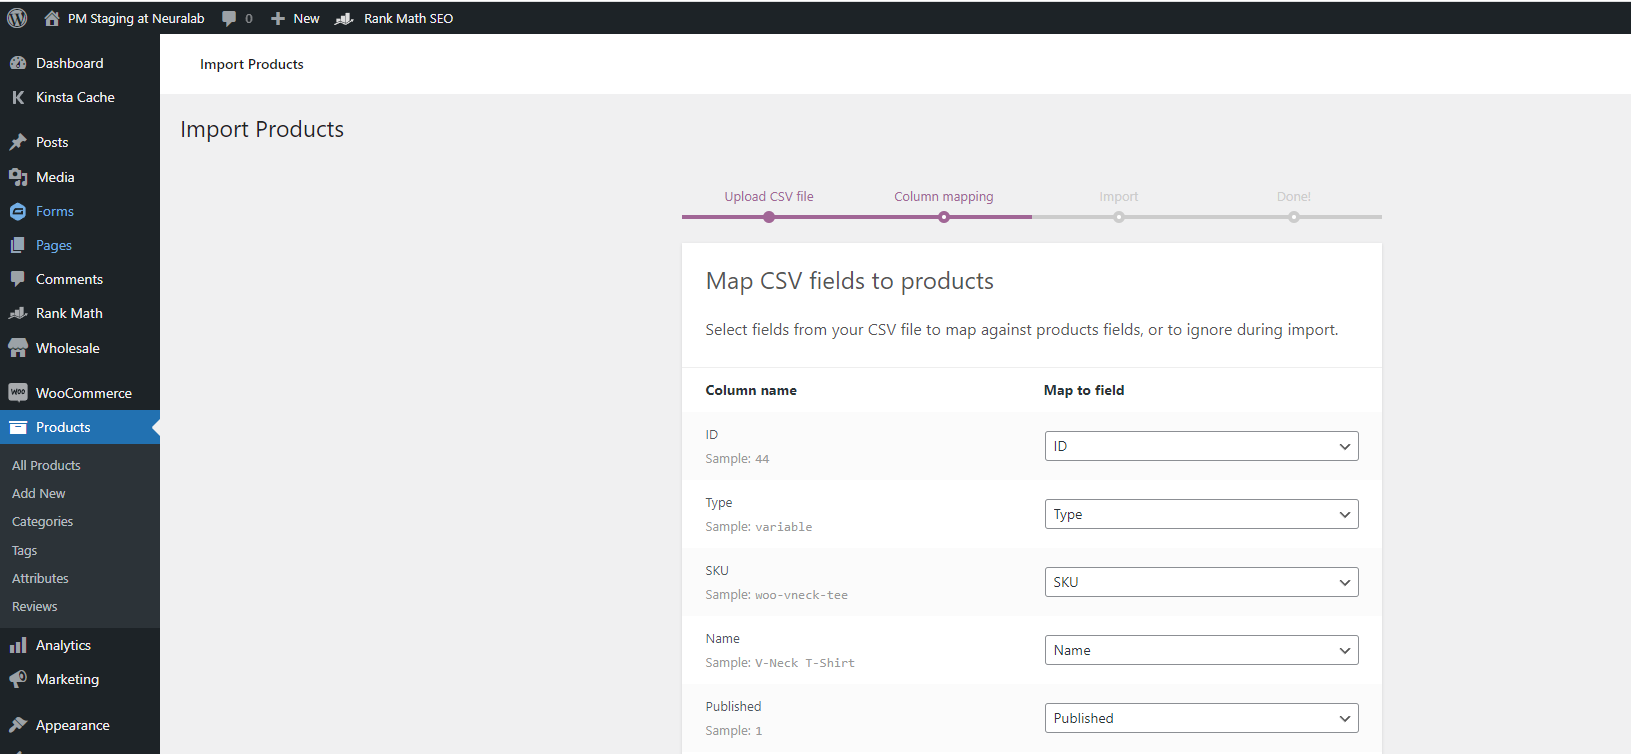
- After that, you will see the screen that will show you Column Mapping options. It is advised that you talk with both IT and eCommerce teams on how to map the product fields…
- Now, all these steps (A-E) are usually done by developers inside the enterprise environment. You could do it yourself, but please talk with your IT department, especially about the topics of field mapping as you could bloat the WooCommerce system with badly imported products.
The second option of using a premium plugin is more challenging for average users as it has more options, but is also more powerful on both the speed of import and the processing part.
Step 4b – use a custom / premium WooCommerce import solution (e.g. WP All import Pro)
Pros: supports multiple file types (Google Docs, CSV, XML, Excel…), extensive functionality, pre or post processing functions, scheduler with a lot of functions, upload from cloud providers, custom mapping options.
Cons: extra steps needed, a non-native solution that is an additional module, more cost, potential compatibility issues, potential bloated system issues, possible downtime when implementing (very little chance, but still…)
Guide:
Using WP All Import is an ALTERNATIVE to Step 4a so you should not use them at the same time. Talk with your eCommerce team about all the options and let developers follow this video tutorial on importing large sets of products using WP ALL IMPORT PRO…
Additionally, you could set up a WP All import scheduler that takes an XML or CSV file from an online place and you would get an automated syncing engine i.e. your PIM products could be synced hourly or daily with WooCommerce. Saving PIM exported data into an online folder in an automated manner is outside of this article scope, but feel free to check about those possibilities with your IT team .
Hopefully, this guide offers some value to store owners that are interested in exporting their products (from SAP, Oracle, MS Dynamics, Sage…) to WooCommerce platform.
And regardless if you are exporting a small set of limited products or a large chunk of variable products, this text should provide you with some pointers on what to consider when dealing with such a cumbersome, but important task.
Ex QBASIC developer that ventured into a web world in 2007. Leading a team of like-minded Open Source aficionados that love design, code and a pinch of BBQ. Currently writing a book that explains why ‘coding is the easier part’ of our field.